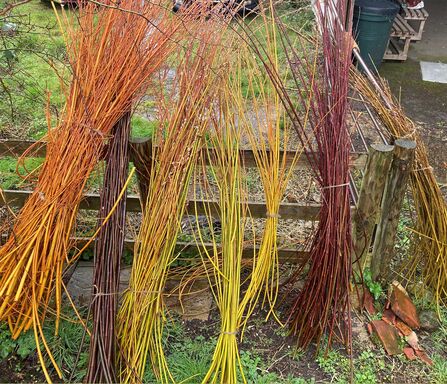
The wildlife garden at Bay Pond Community Nature Hub was the grateful recipient of not one, not two, but SIX great big beautiful bunches of willow withies this week.
I was greeted at the barn this morning by a rainbow of willow; purple, red, orange, green, yellow and brown, all lined up and glistening with the night’s raindrops.
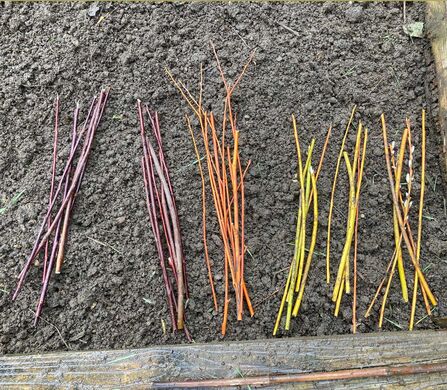
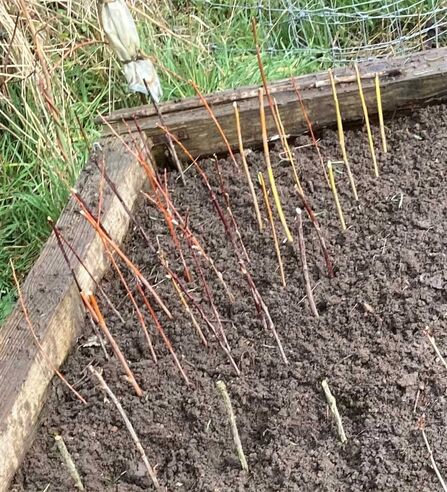
Its destination is our dead hedge (yes, it is likely to be the prettiest dead hedge in Surrey), but the colours were so gorgeous that we had to try taking some cuttings too. After clearing a bed to receive them, we set to chopping the long withies into lengths of around 25-30cm, or 10-12”. A flat snip below a bud at the bottom, and an angled snip above a bud at the top. Gardening lore says the angled snip helps falling water to drain off and so the cutting stays healthier; whether that’s true or not, one thing it surely helps is remembering which end is which when it comes to planting the cuttings out!